•
Go to the Apple App Store, search on "Gocupi" and download the app. IT'S FREE!
•
Once installed on your iPad, tap on the Gocupi icon to start the app.
•
Using iPad "Settings", connect to the Gocupi AP.
•
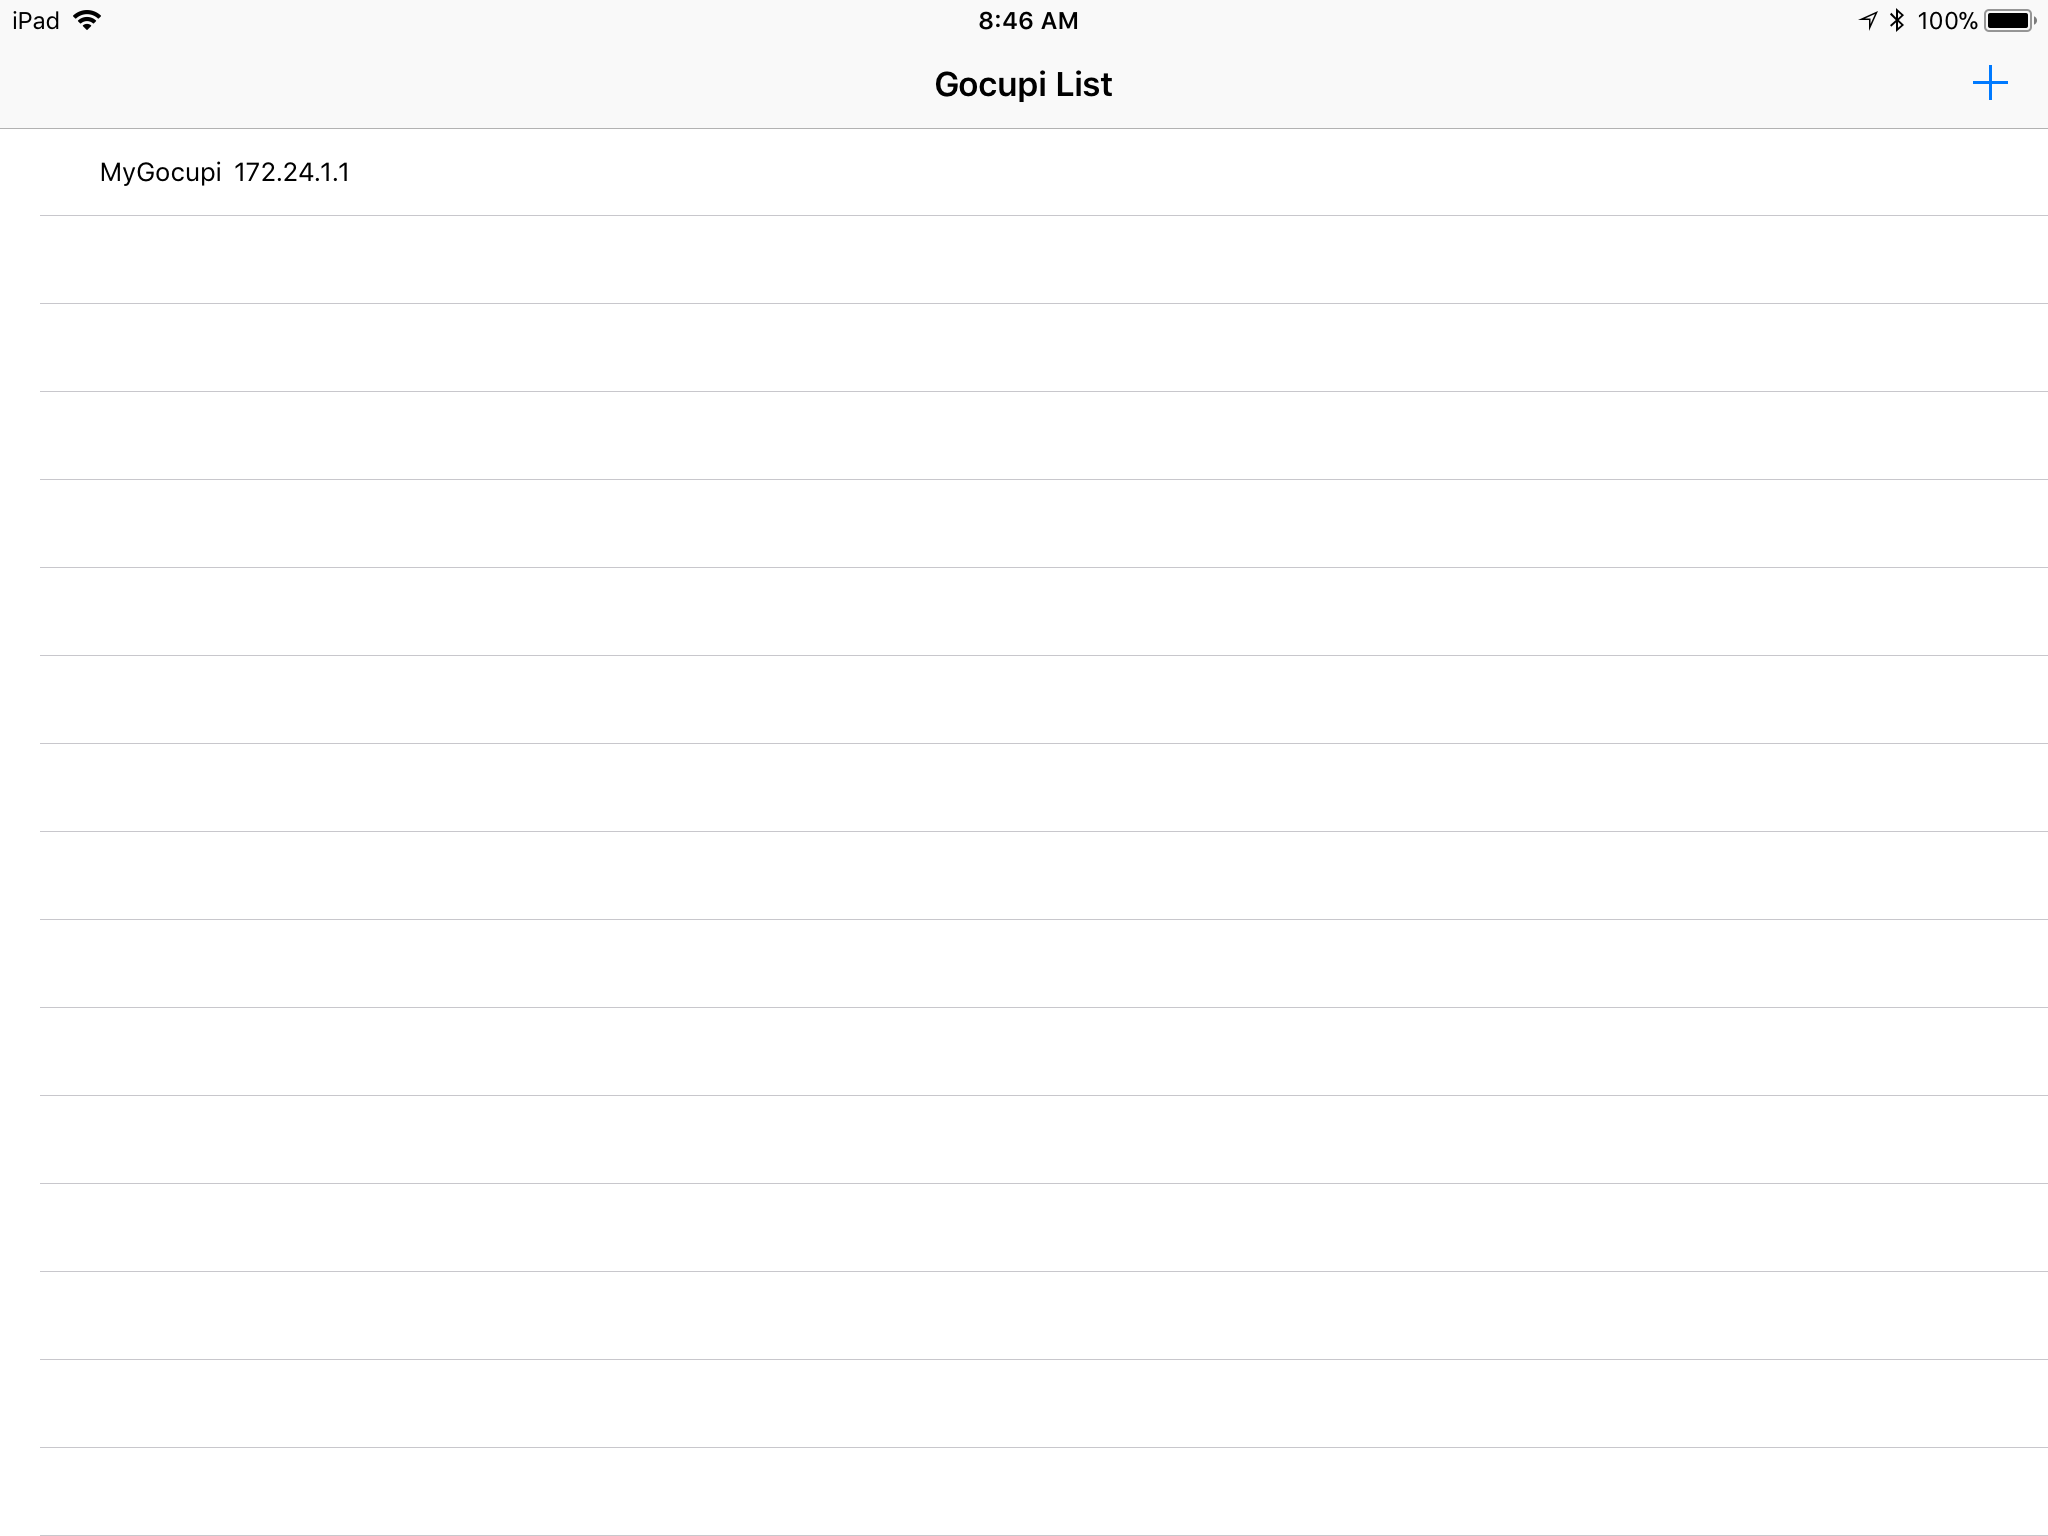
Return to the Gocupi app and you'll see its start-up screen (below).
•
The Gocupi app is designed for the iPad in landscape orientation.
•
The first time you run the Gocupi app, there won't be any Gocupis listed. The one you see listed below (e.g. MyGocupi 172.24.1.1) is my Gocupi.
•
To add a Gocupi to the list, tap the plus (+) sign in the upper-right corner of the screen.
•
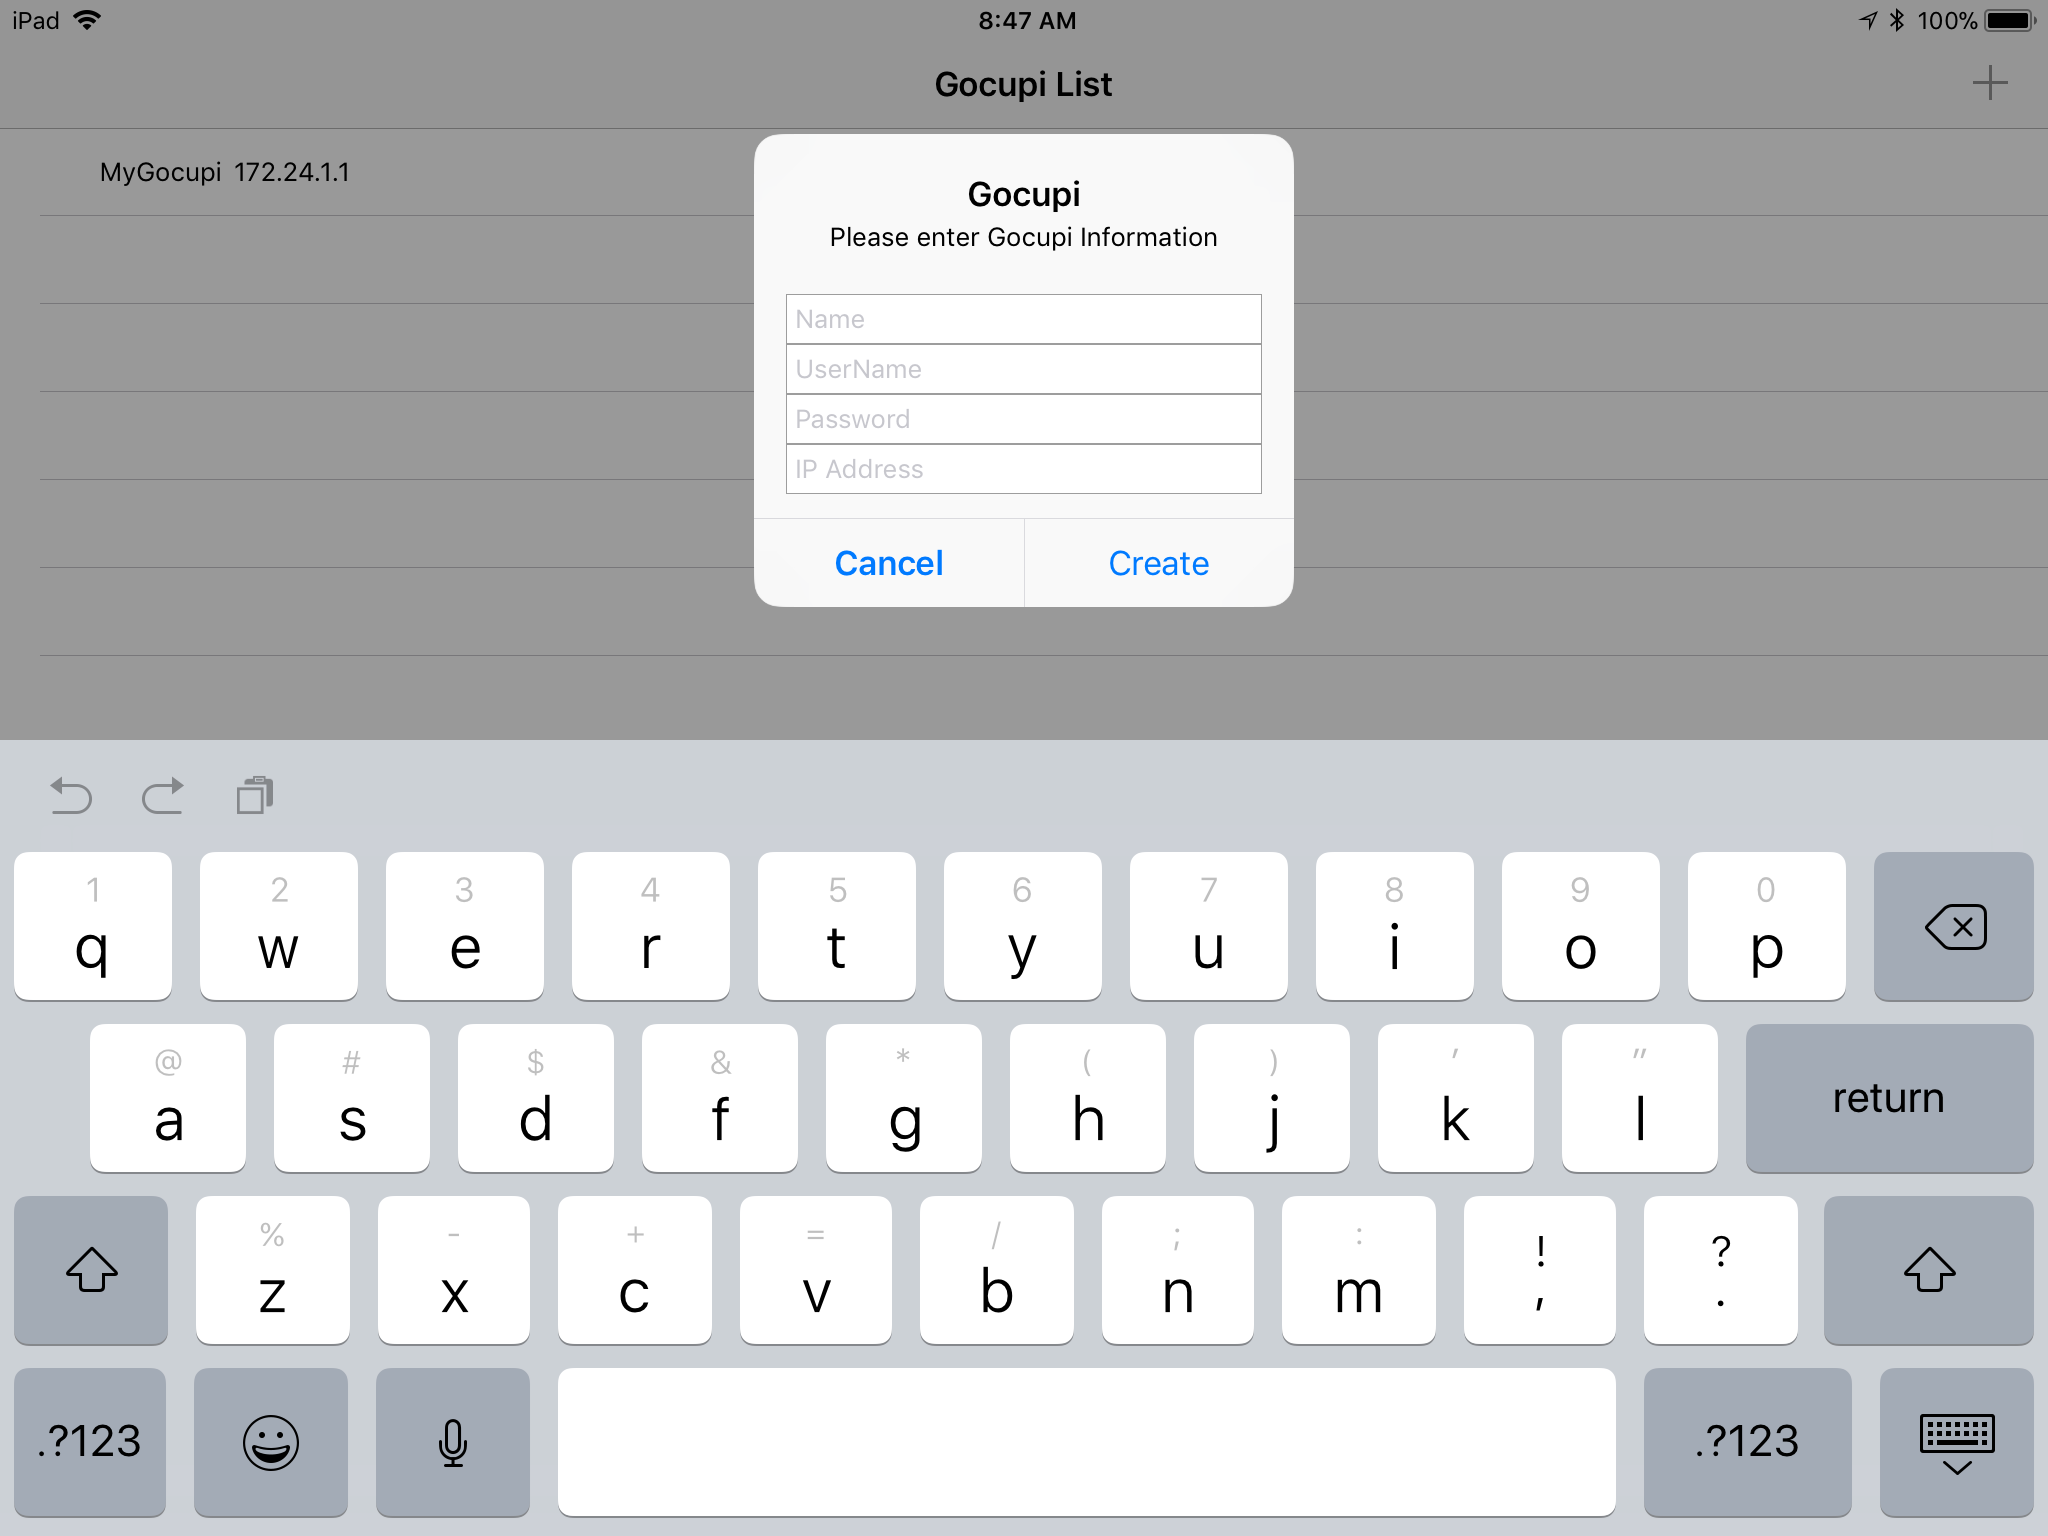
Enter the information in the pop-up dialog box. The name can be anything you like. The username, password and IP address are specific to your Gocupi.
•
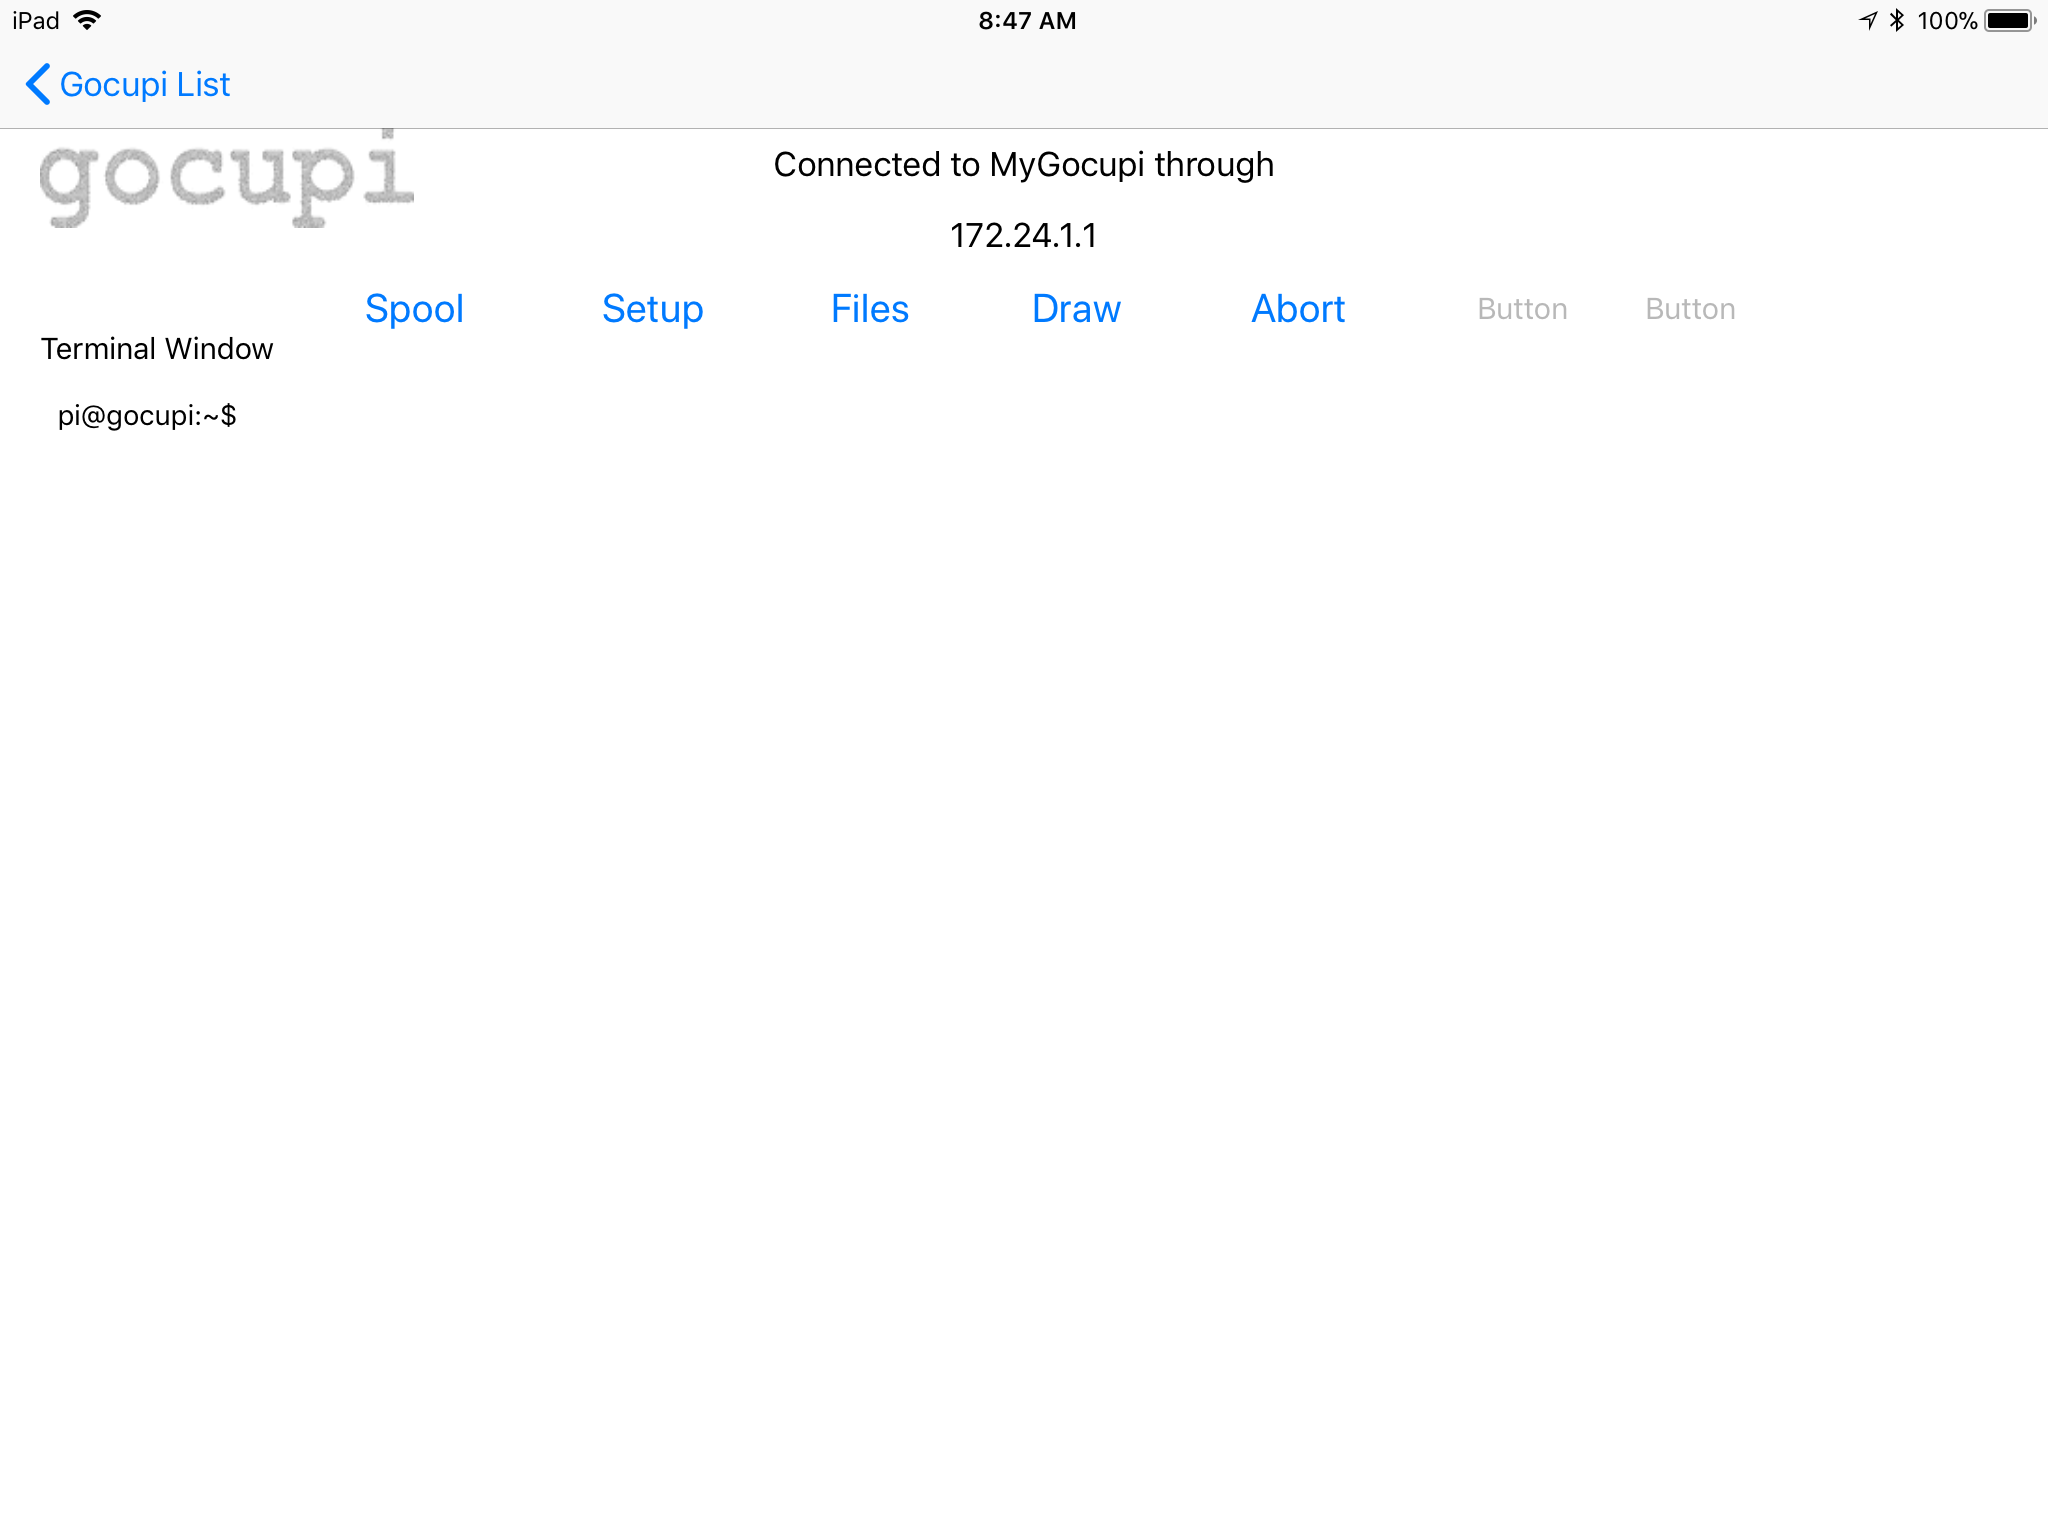
Tap on the newly created Gocupi in the list. In the screen below, it's "MyGocupi 172.24.1.1".
•
You'll see the main control screen for the Gocupi app.
•
In the upper-left is the "< Gocupi List" link to go back to the list.
•
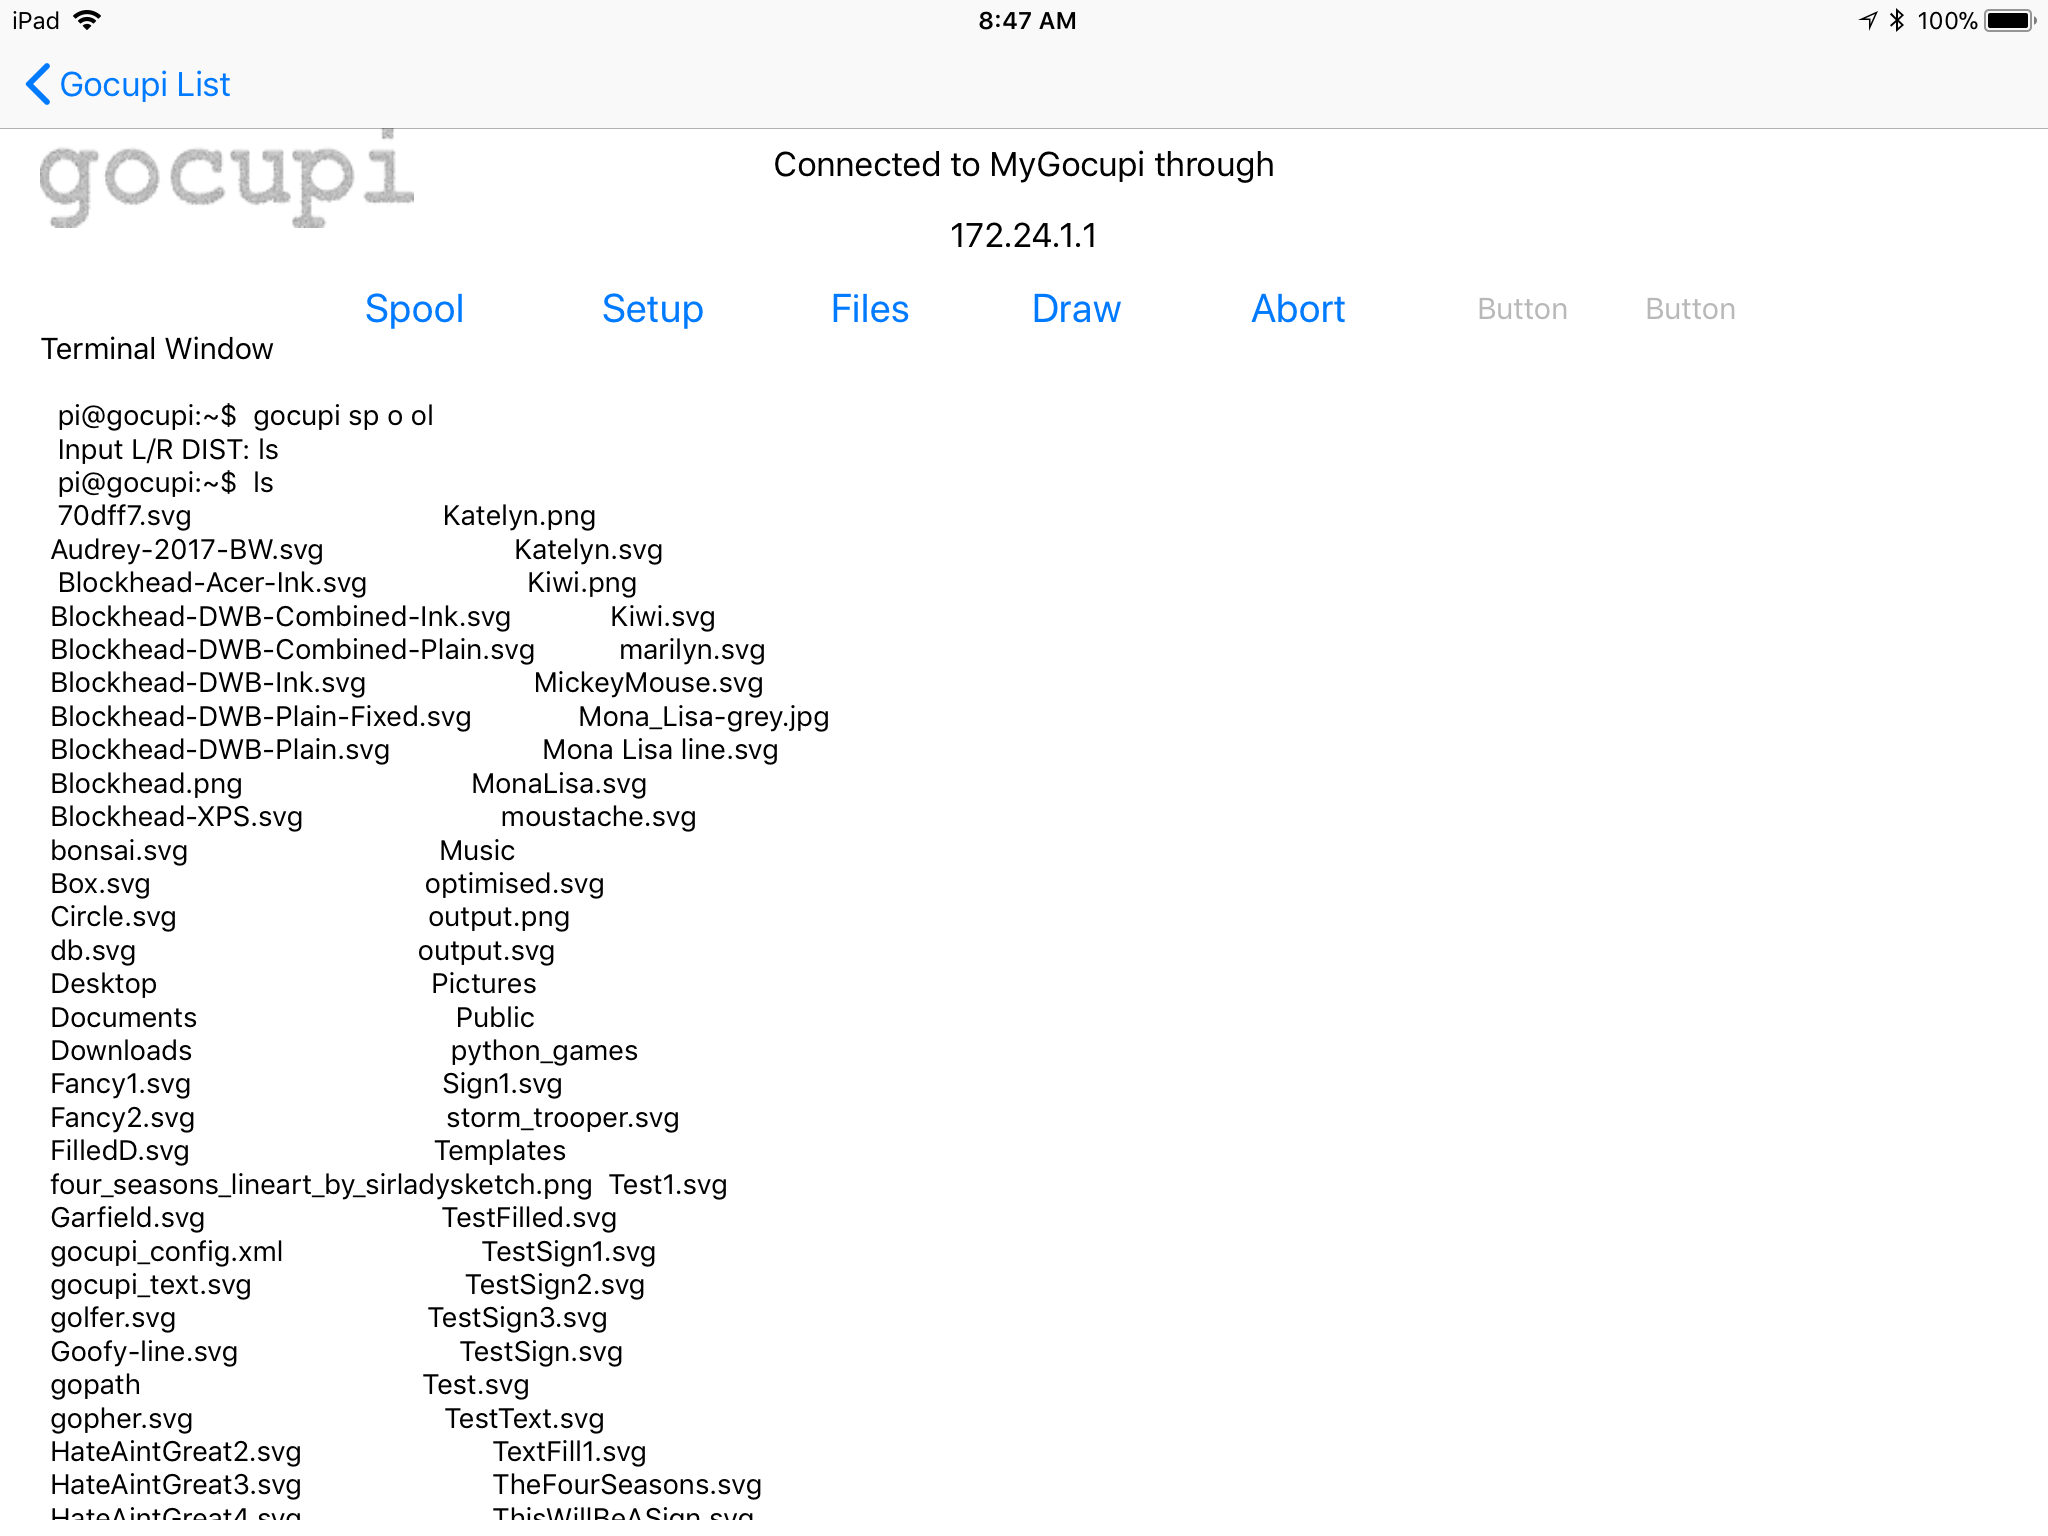
In the center of the screen, you'll see a message that the Gocupi you selected in the previous screen is connected through the IP address you provided.
•
There's a row of commonly used commands (in blue).
•
Below the row of commands is a "Terminal Window" label.
•
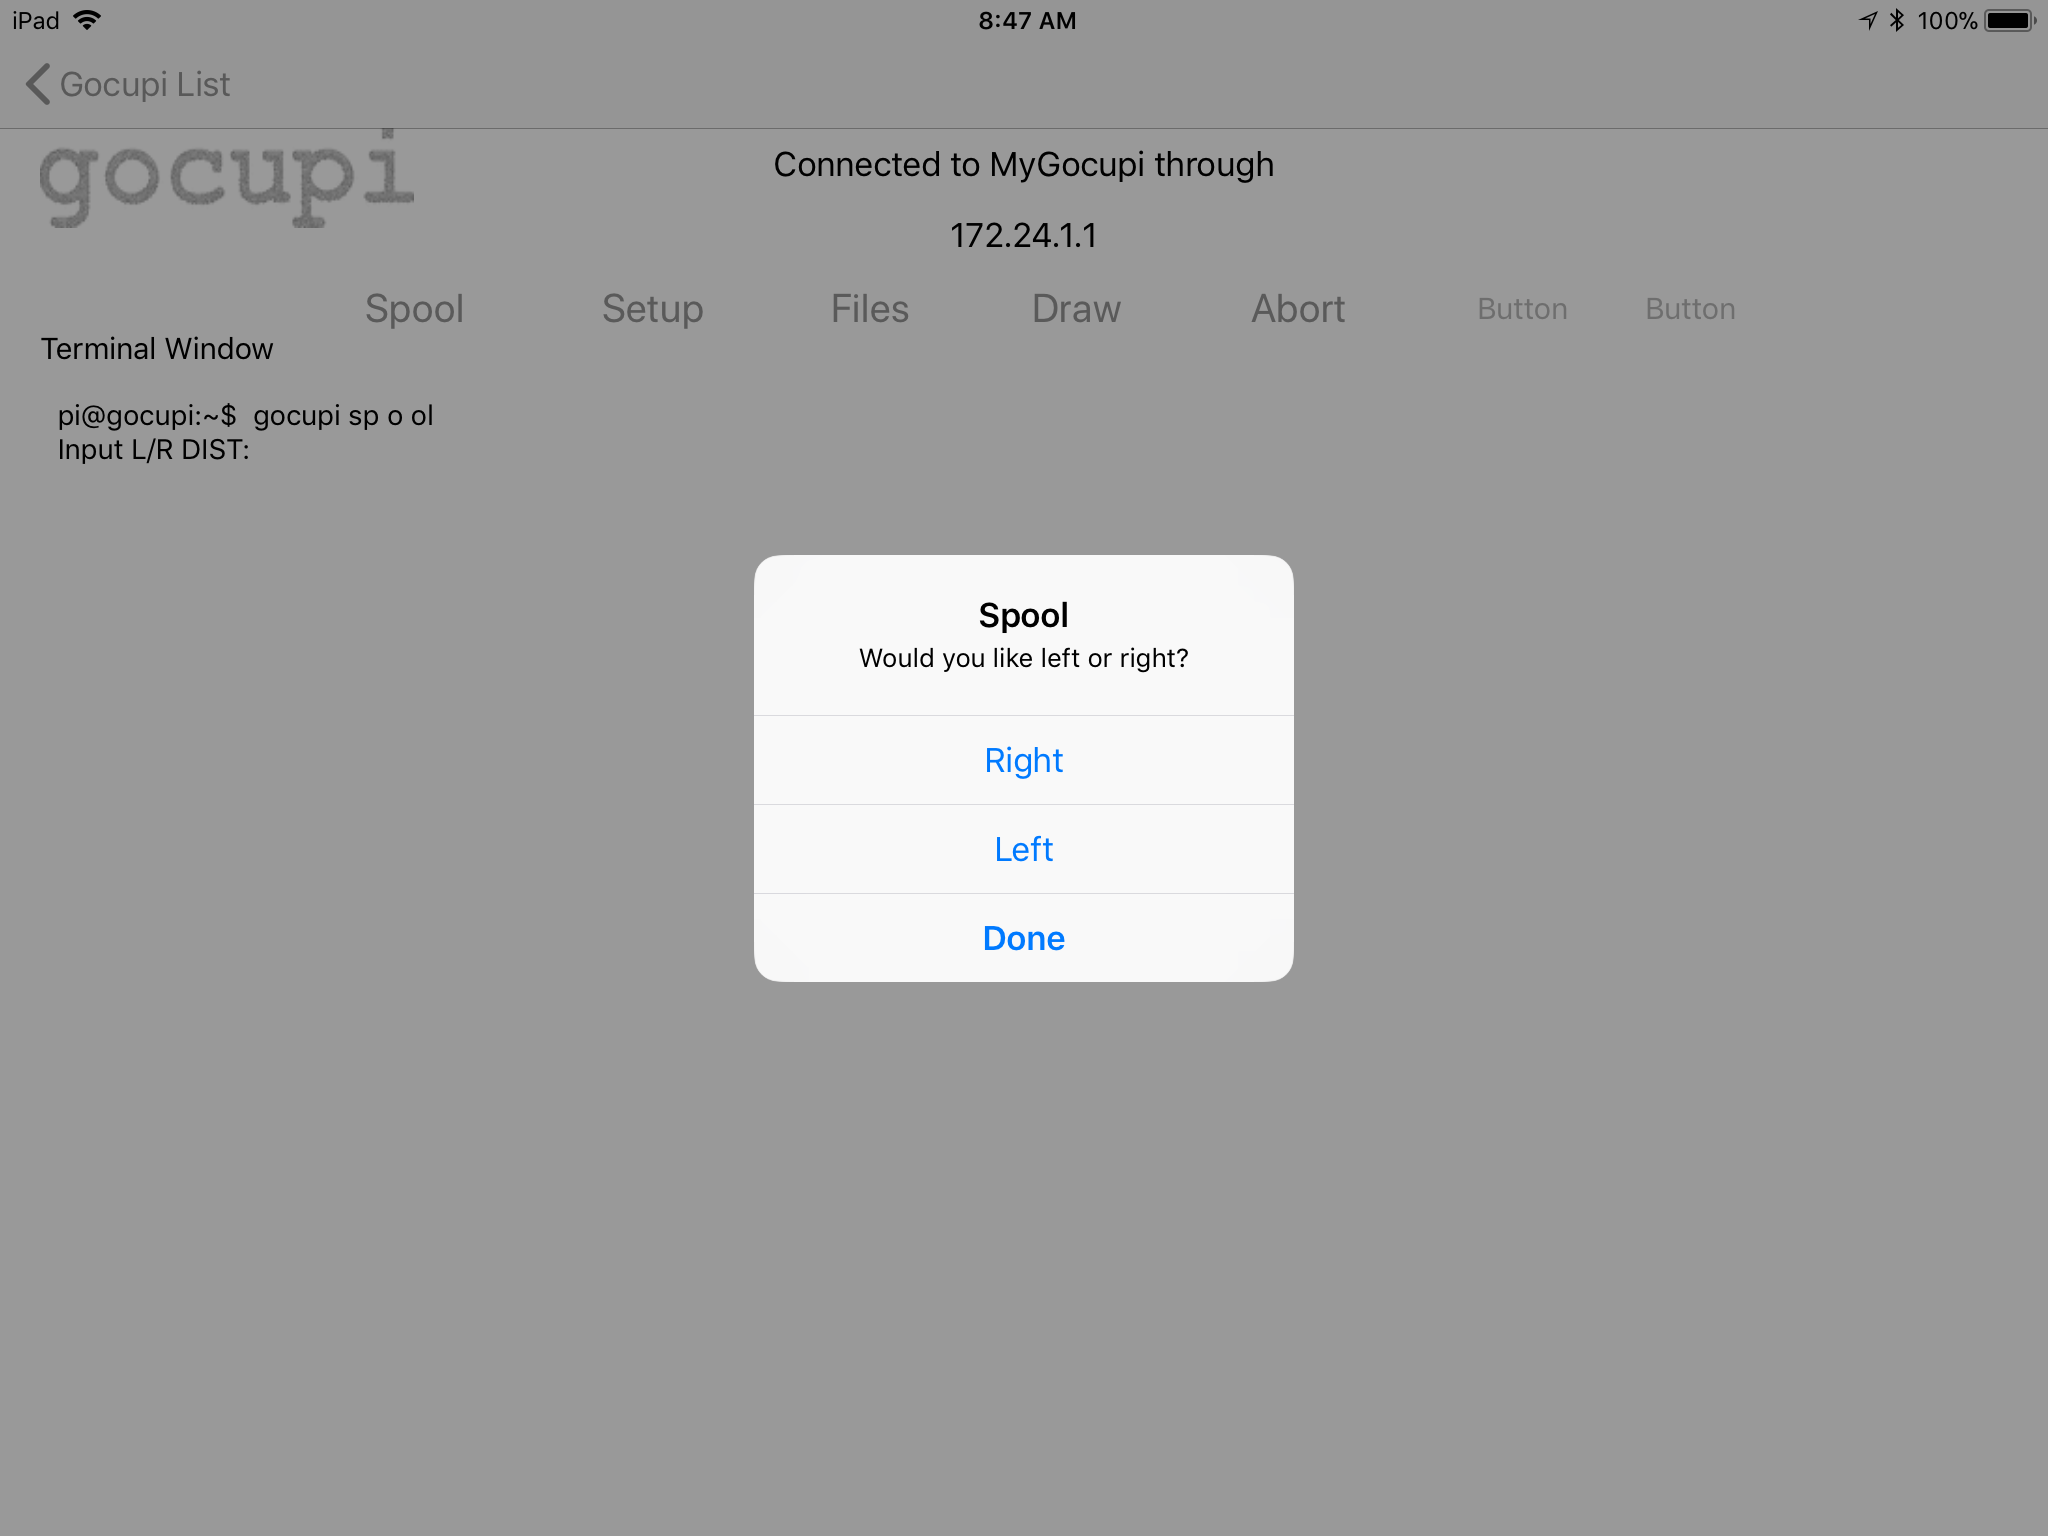
Below that, you'll see all activity from the Gocupi's terminal.
•
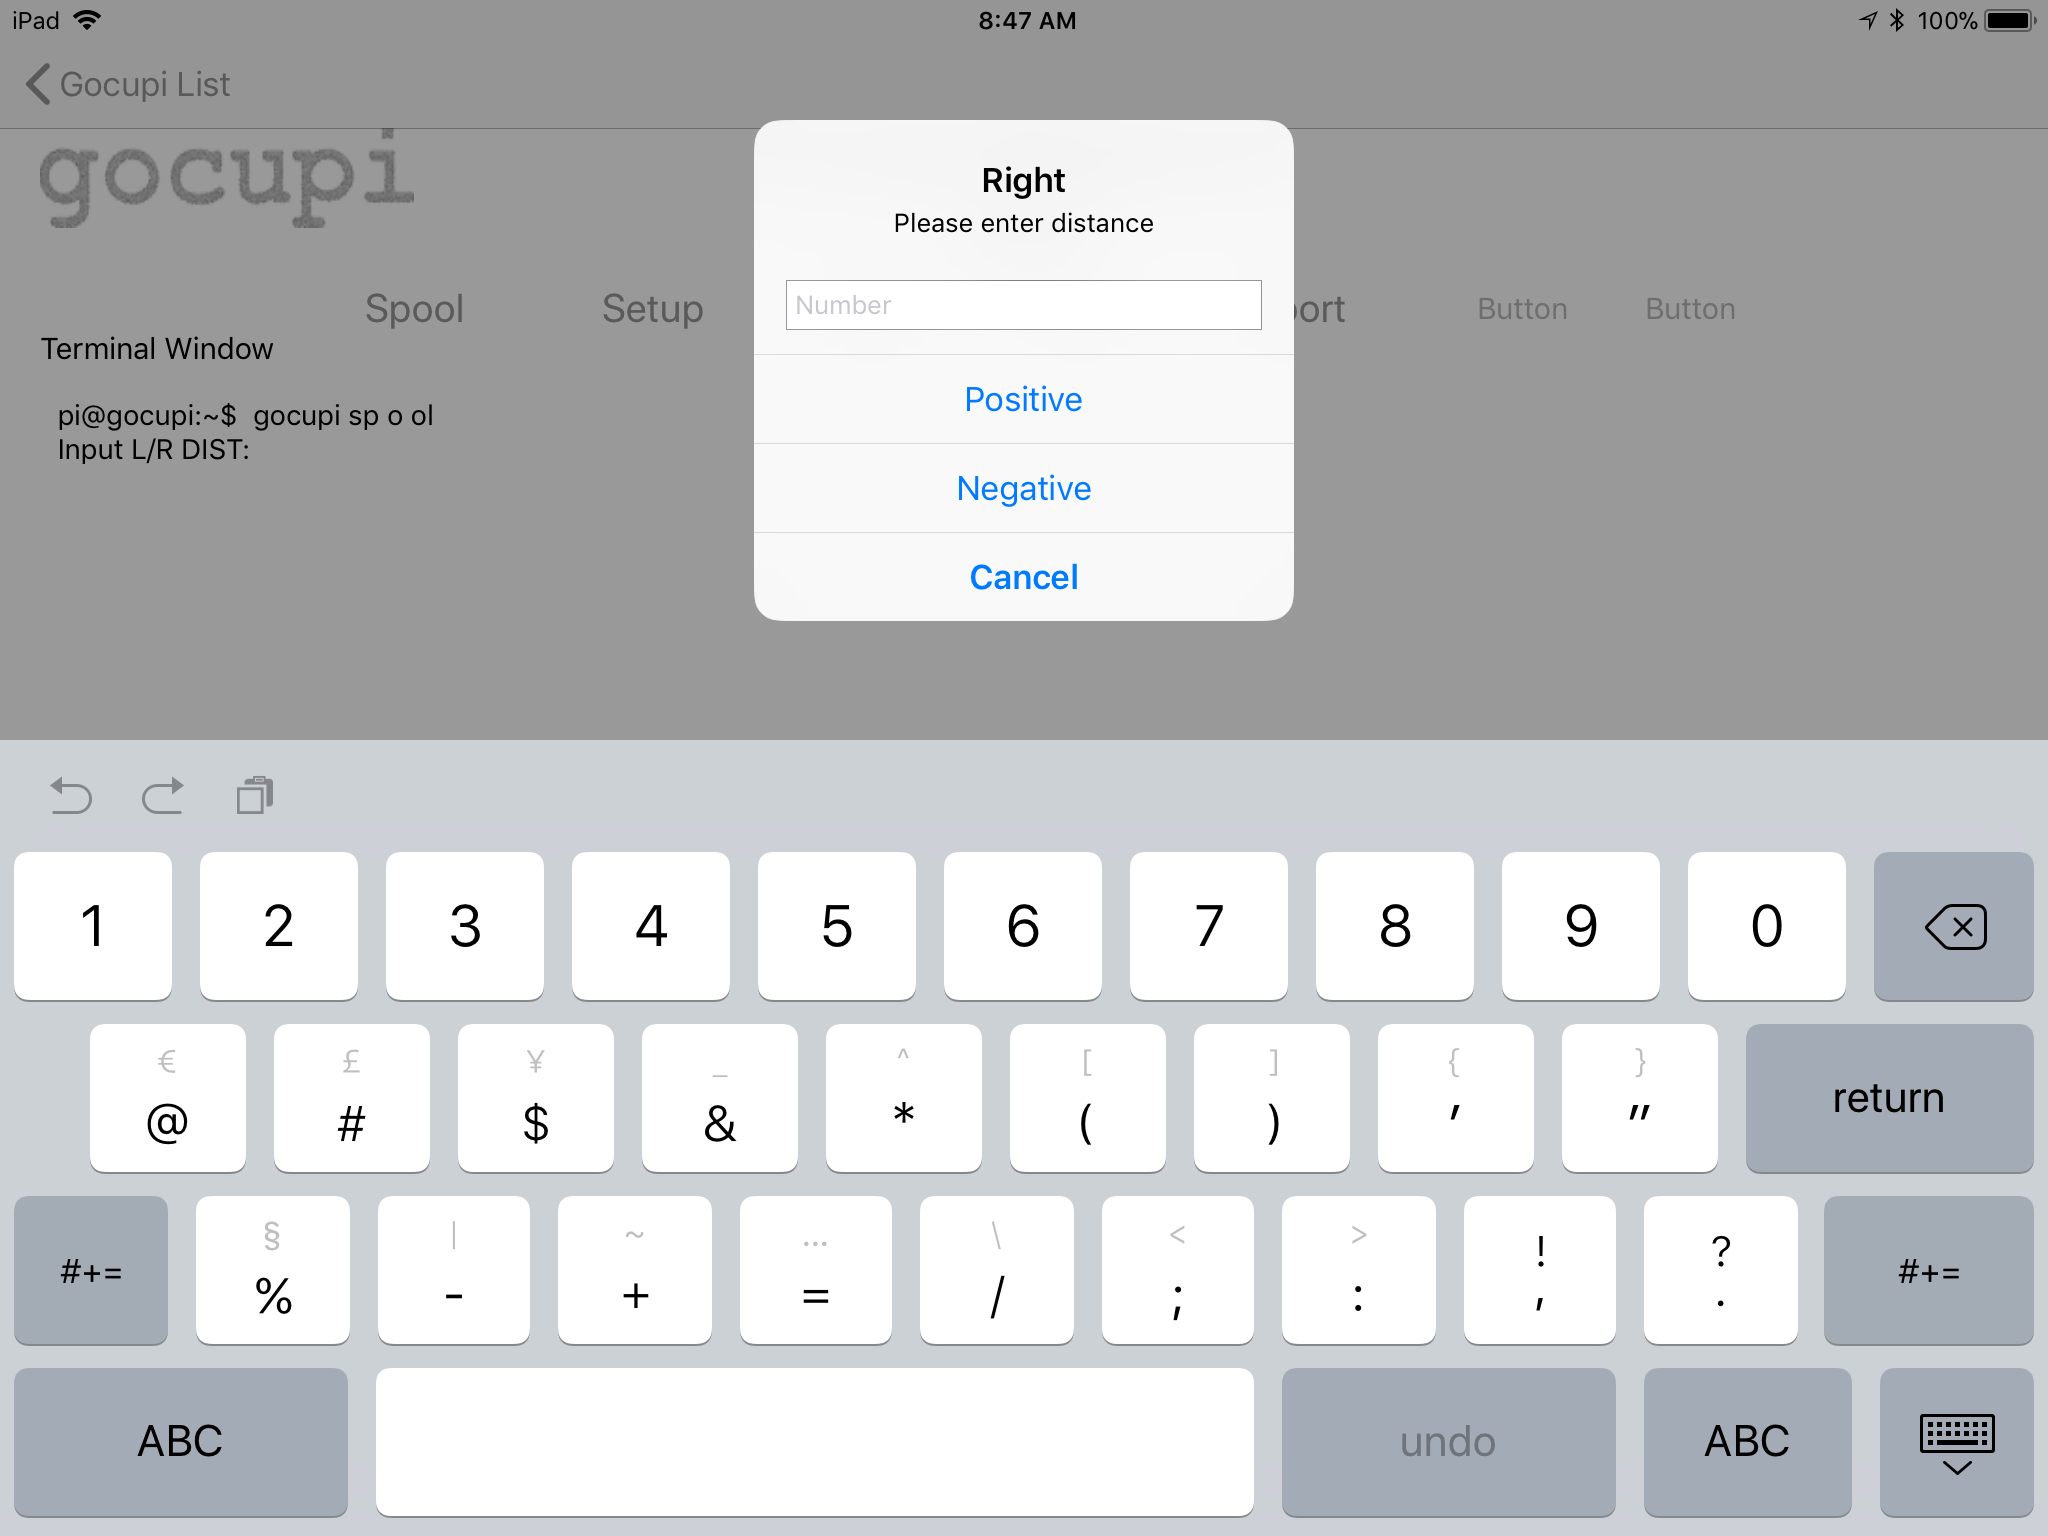
Next, enter a distance you'd like the motor to move.
•
And, tap "Positive" or "Negative" depending on which way you want the gondola to move (e.g. positive = away from the motor and negative = toward the motor.
•
Confirm that the gondola moved in the desired direction.
•
Once the gondola is in position, tap "Done".
•
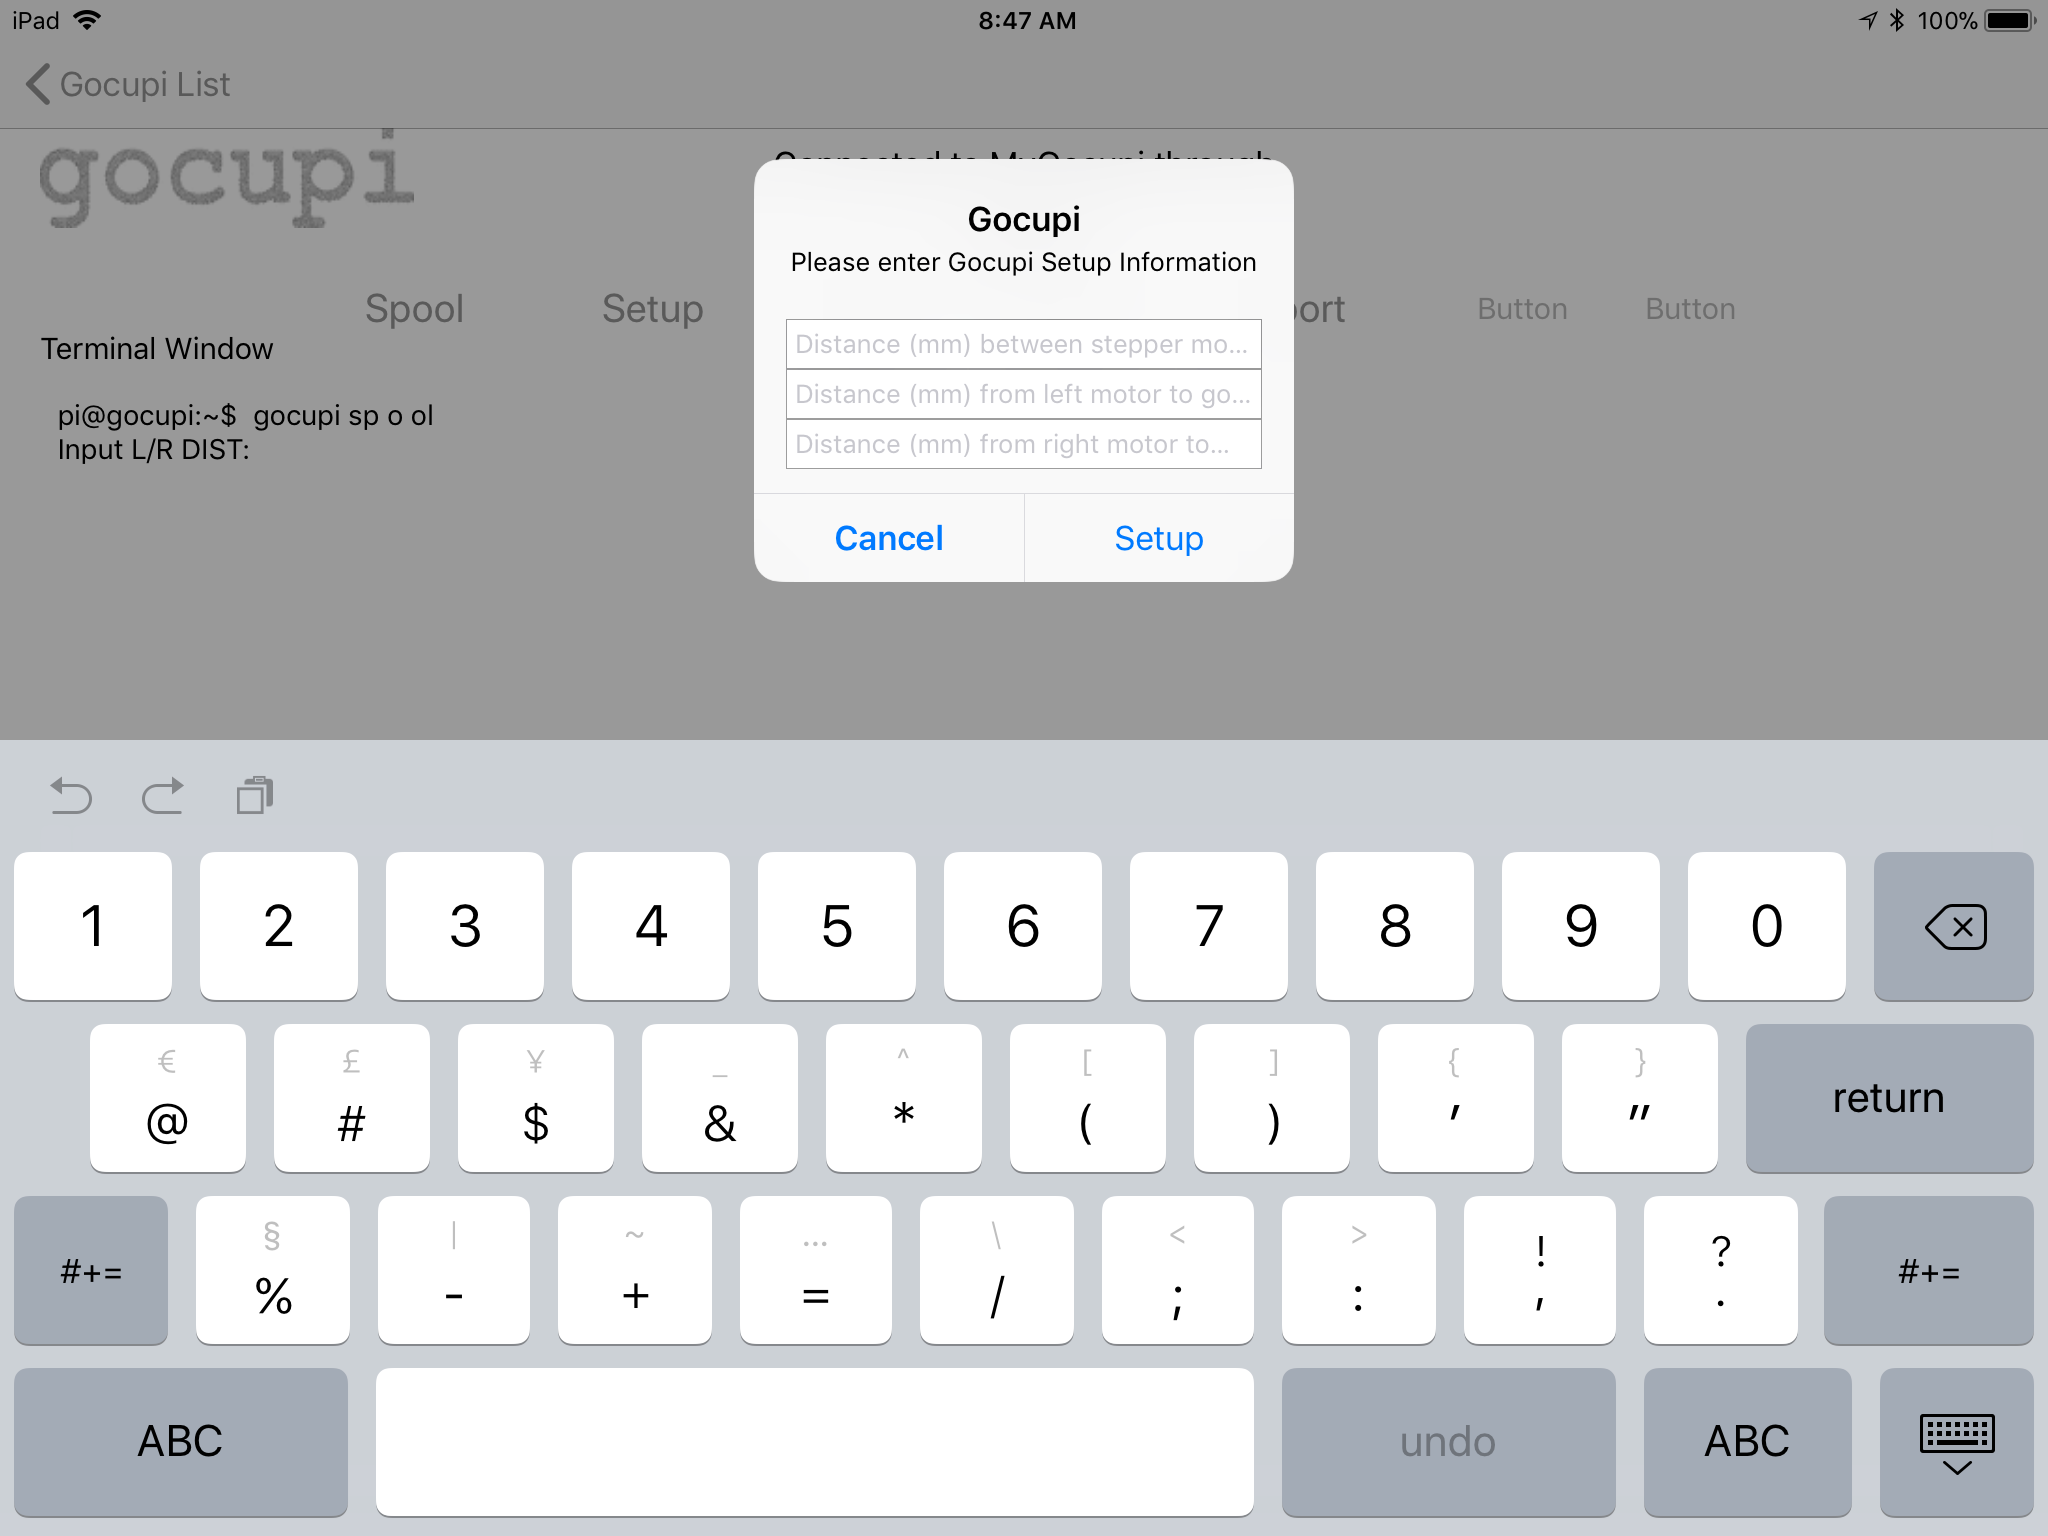
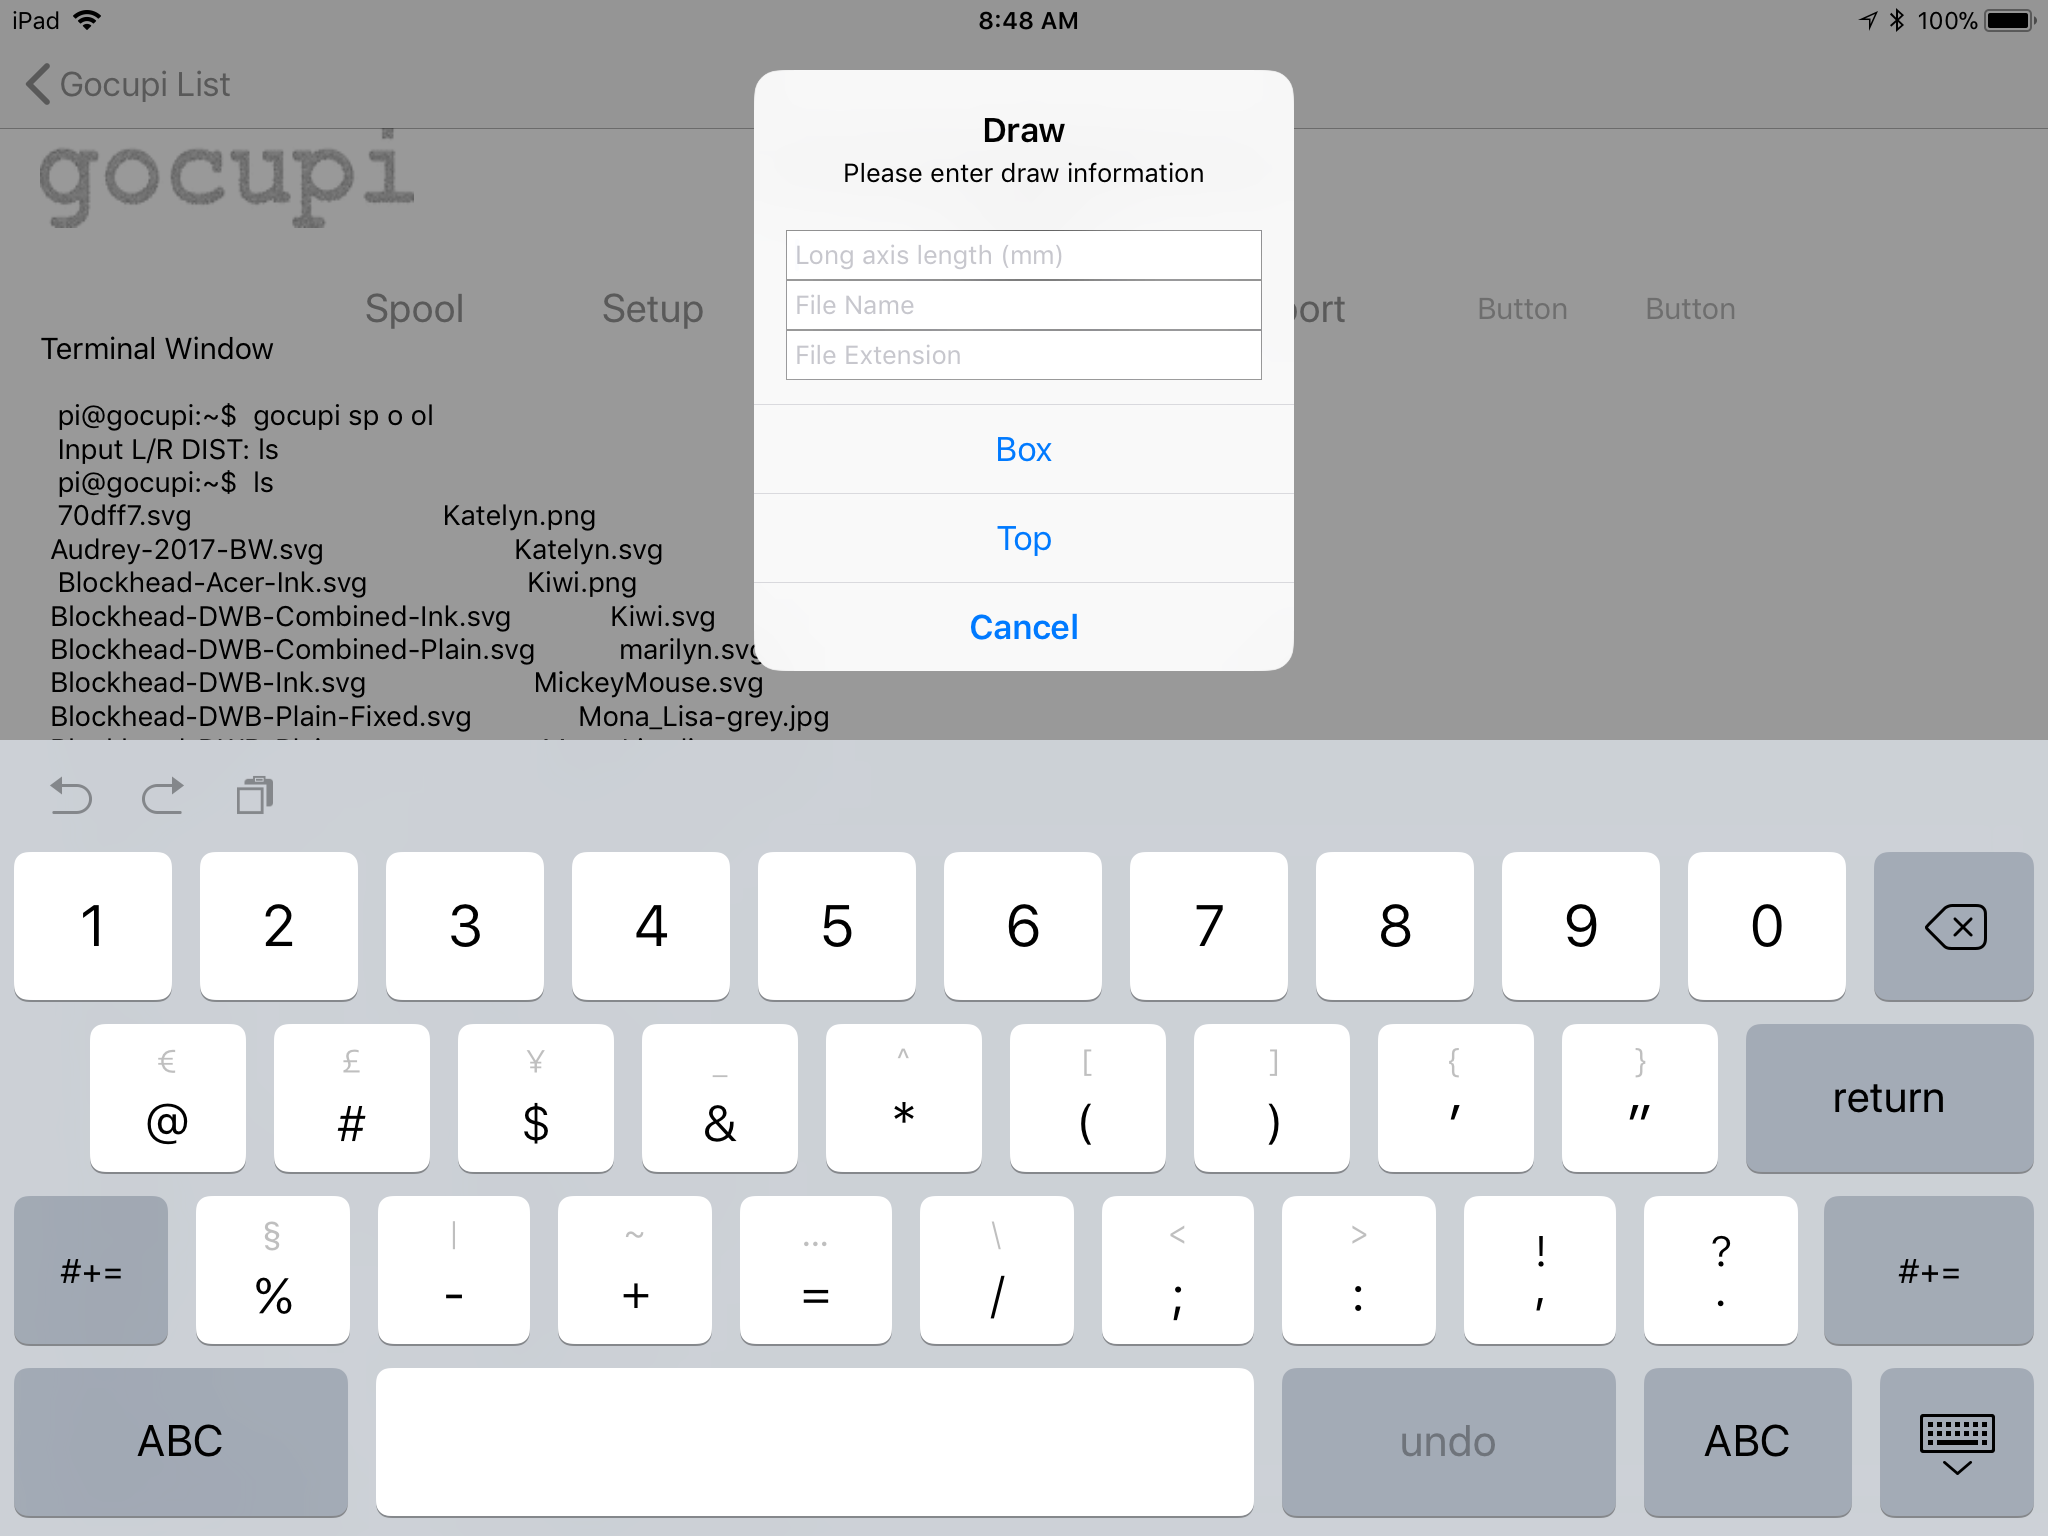
Tap "Draw" and enter the required information.
•
Tap "Box" or "Top" depending on your preference.
•
The Gocupi will start the drawing process based on the information you provided.
•
Tap "Abort" if something goes wrong.